Adding an event to the College calendar seems like a complicated process. However, once you've seen it, this is a very straightforward procedure.
First, go to Content > Add Content > Event.
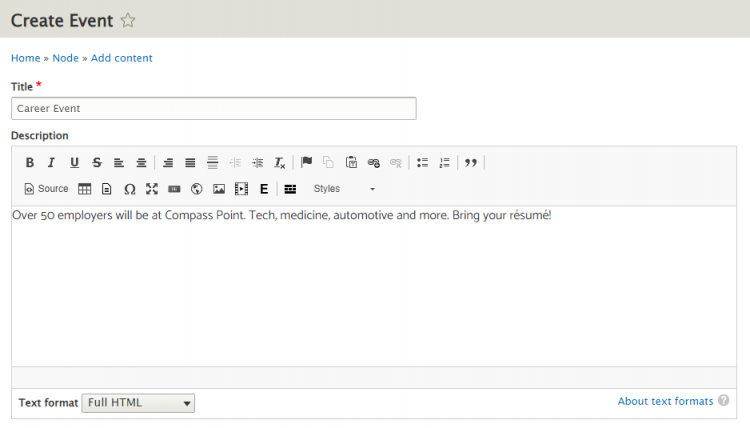
Now, give your event a name that a student can understand. This goes in the Title section.
If you wish, you can also add a short text description of your event. This is best practice.
Enter your event's start and end dates and times.
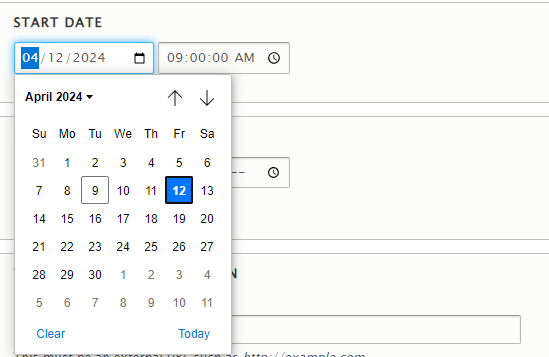
First, click on the calendar icon. Select the start date of your event.
Now, click on the clock icon. Choose the start time.
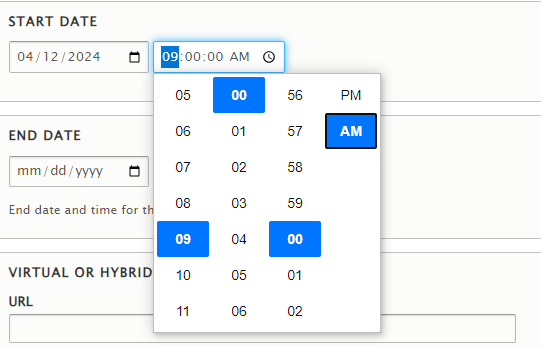
Note that there is a place for seconds. This is necessary for technical reasons.
For our Events, seconds should always be "00."
There are several options for Event Location.
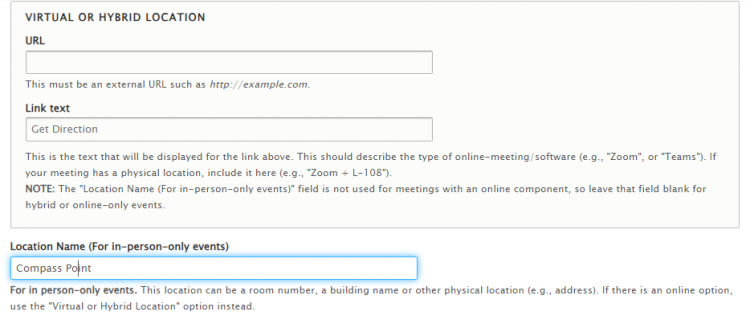
If there is a virtual location for your event, the URL should be the Zoom address. Link Text can say something like "Online via Zoom." Keep it short.
For real-time locations, simply enter the location under Location Name.
Important
For your event to display properly on the calendar, you must choose a Category.
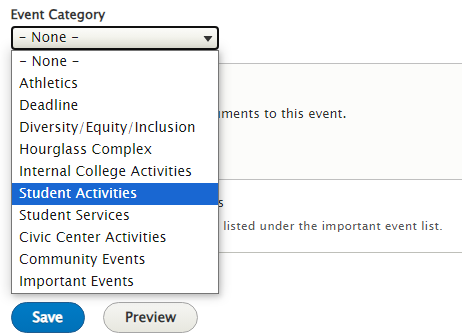
Choose a category from the dropdown list that fits your event.
Click Save, and you're done. Your event should now appear on the calendar.